


KUDA shaders are most popular than the SEUS. Though the performance of the SEUS is better, the KUDA shaders are mostly compatible with all versions of Minecraft. You can literally call KUDA shaders as one of the very few Bug-Free shaders. It has been a year since is KUDA shaders is released as a Beta version.
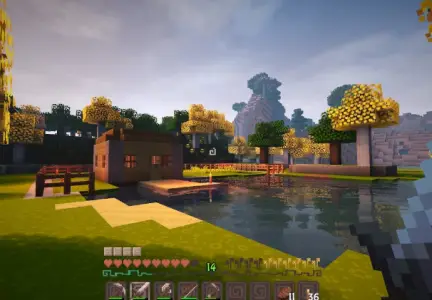
KUDA shader was designed by Dedelener. And unlike other realistic shaders, it is much fast and compatible for low-end PC. This is one of the main reason behind its popularity. KUDA shaders are known for its volumetric fog special effort. It’s a perfect shader pack, which delivers the right graphics for the right PC.
Don’t try to use this shader on the integrated graphics. It needs a graphics card above 500 series. If you are having a Low-end PC, you can go for the lite version. It has gained a lot of trust among the users. Often you will receive
How to install KUDA Shaders?
- Download and install Optifine HD Mod on your Minecraft client.
- . Now go the location, where the application files are stored. For windows navigate to %appdata%/minecraft. For iOs, navigate to Library/Application Support/Minecraft. For Linux Os, navigate to /.minecraft
- Search for shader pack folder. If not found, create one on the same location.
- Copy the extracted files from the KUDA zip file. (Download the file from the below link)
- Now you can select the shader from the options > Shaders
- All set to go! Now enjoy Minecraft KUDA shader to the full extent.
Download Links for KUDA Shaders Pack
| Download KUDA Lite | |
| Download KUDA Default | |
| Download KUDA Medium | |
| Download KUDA Ultra | |
| Download KUDA Ultra Blur |
These are the steps to download and install KUDA shader packs on your Minecraft client. If you are facing any issue do comment below.